Blending artist crayon or oil pastel with colored pencil can be broken down into four steps.
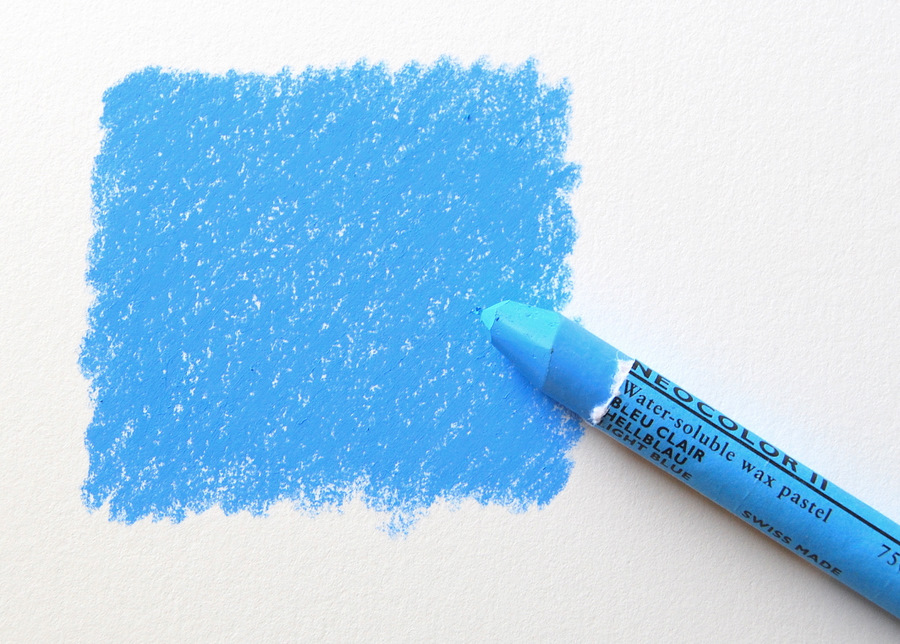
- Step 1 - Layering artist crayon on the cool zone
- Step 2 - Melting artist crayon on the warm zone with a color shaper
- Step 3 - Layering colored pencil on the cool zone using side of pencil
- Step 4 - Blending artist crayon and colored pencil with a paper stump
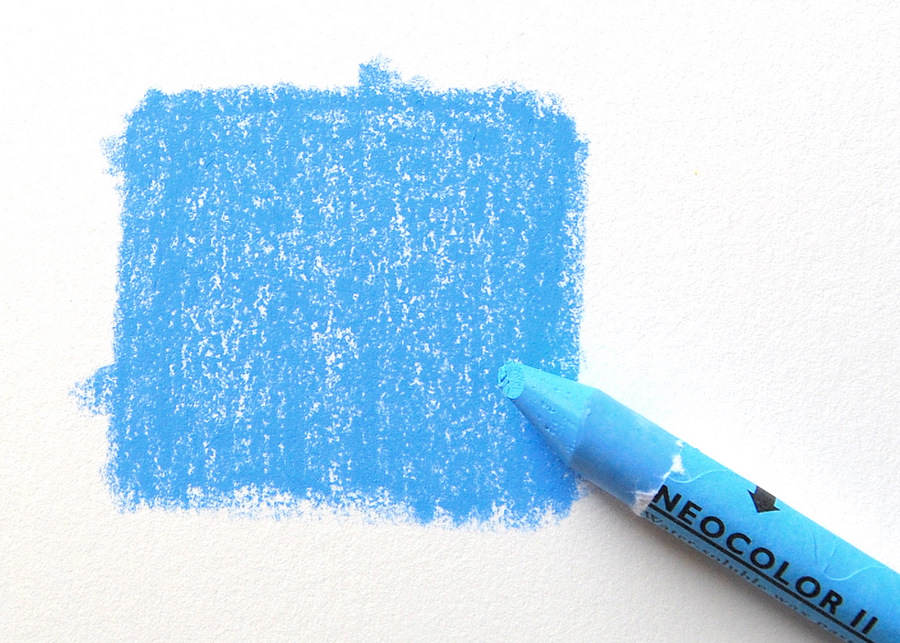
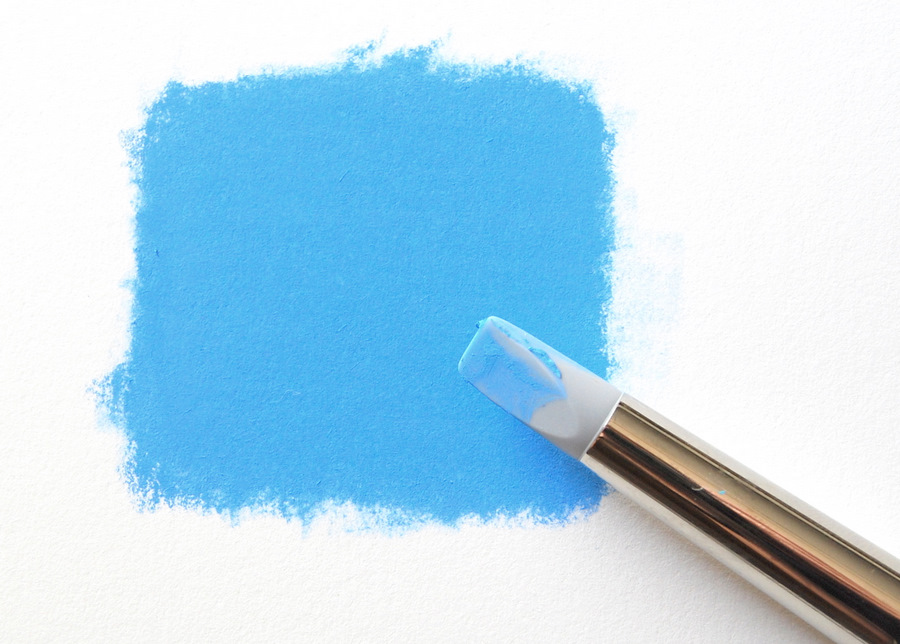

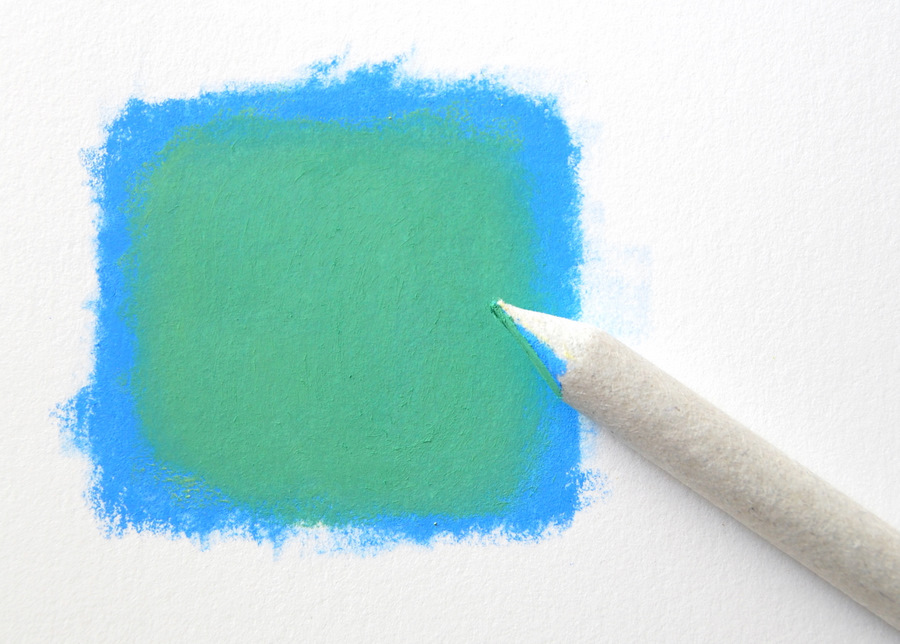
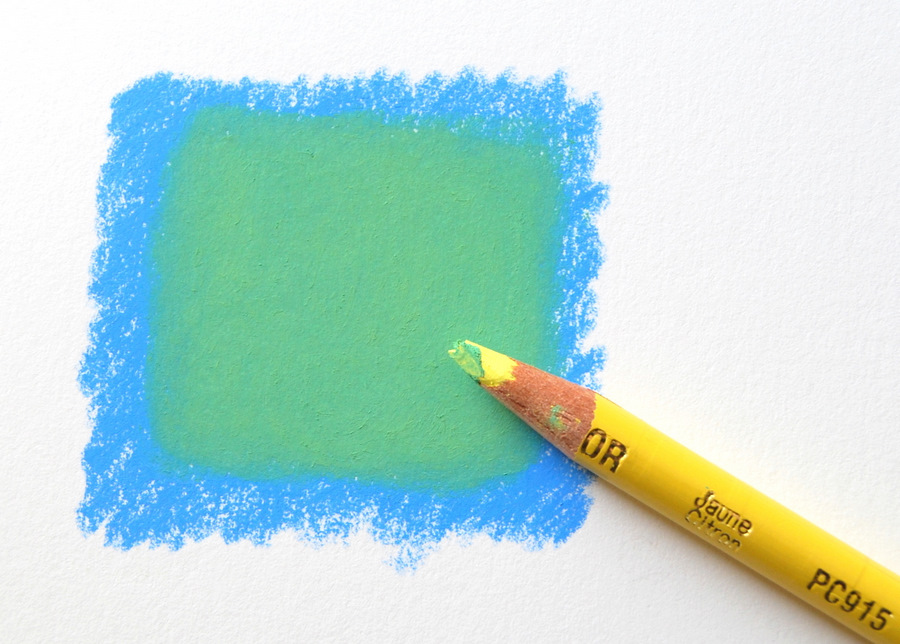
In the two examples below, you can see that this process can be reduced to two simple steps. While the colored pencil is blending with the crayon, it is also functioning as a melting tool.
This is a nice shortcut that works well for small areas. When blending large areas, I prefer to first melt the crayon and then layer and blend the colored pencil.
4 comments
Sherry Goeller
September 19, 2010
Good demonstration. Appreciate the visuals, they help alot. Thank you, love working in this medium!
Sherry Goeller
Ester Roi
September 19, 2010
You are welcome, Sherry, nice to hear from you.
Janet Grundas
September 19, 2010
Thank you for the tips on blending. I have a hard time with that aspect and wondering if you could show us a few tips on doing detail on the Icarus board.
Enjoying the new board. Thank you Jan
Ester Roi
September 19, 2010
Hi Jan, I’m working on new tips on details and I will post them in the next few weeks. Thanks for stopping by.