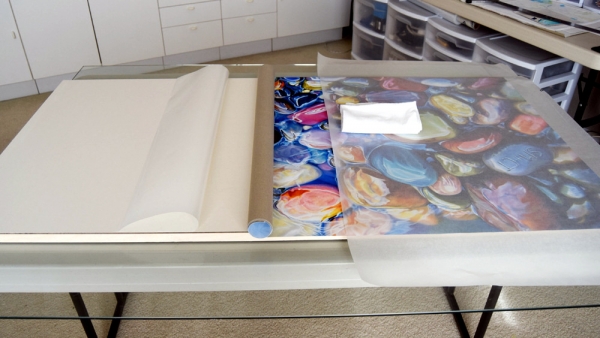
At the beginning of the mounting process I realized that I didn't have a table big enough for the arwork so I had to be creative and decided to place a mirror closet door on top of the smaller table I had available.
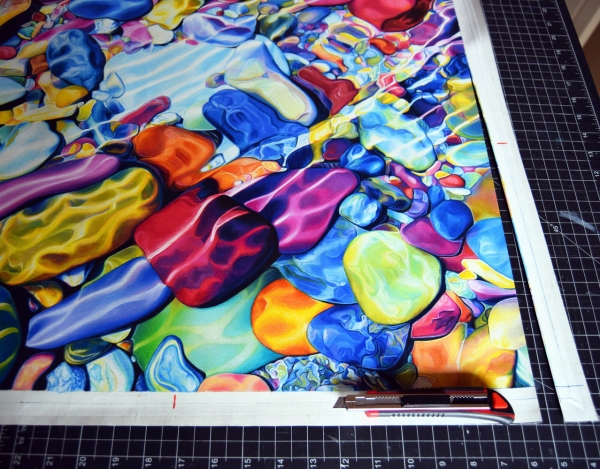
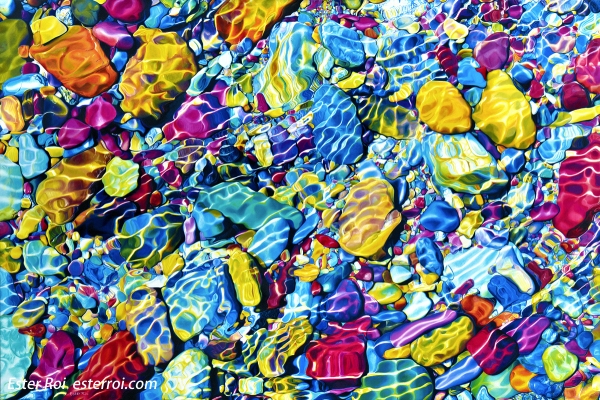
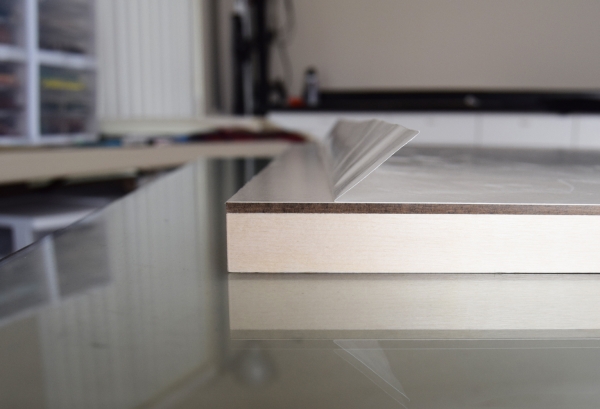
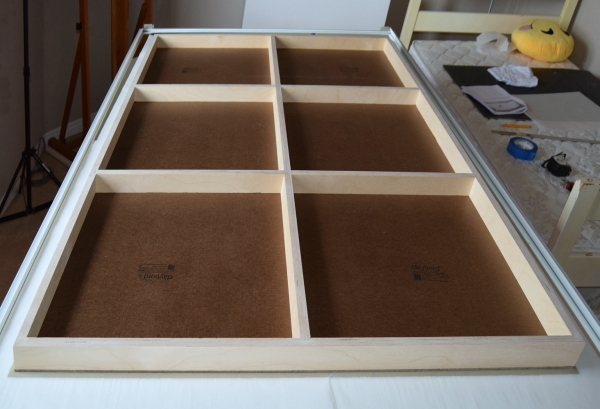
First I carefully trimmed the extra canvas around my piece. The trimmed canvas at this point is a bit larger than the cradled panel to account for possible misalignments during mounting. The wood panel I always use for mounting my art is an Ampersand Claybord.
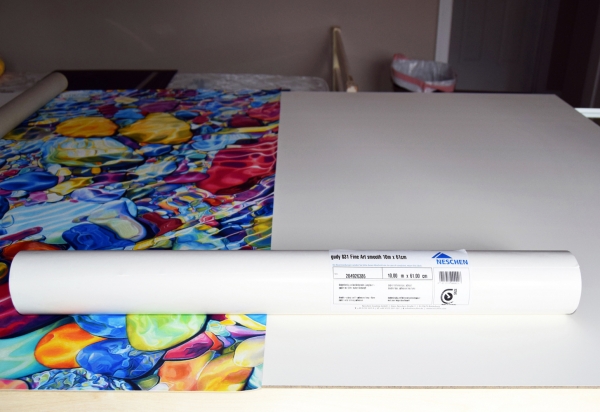
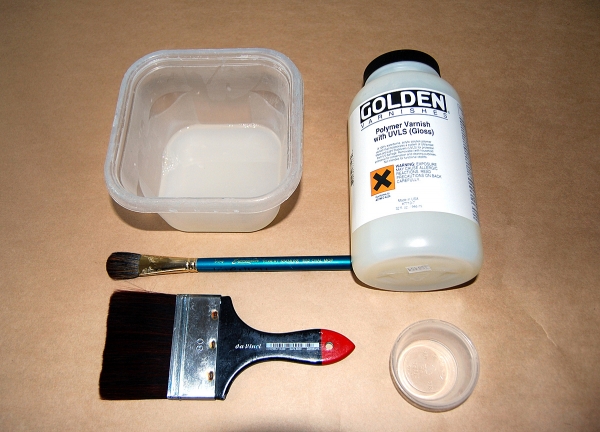
My favorite mounting adhesive is Gudy 831, a very aggressive double-stick adhesive film especially suitable for applications on rough or textured surfaces. It's acid free (pH 7), it passed the photo activity test (PAT), and will not dry out or discolor with age. It's available on rolls with a single release liner. Gudy 831 can be purchased online from Talas in different size rolls. However, if you don't use a large quantity of adhesive as I do or are just experimenting, I suggest you buy Grafix Double Tack Mounting Film which comes in sheets of different sizes. This is also acid free and archival.
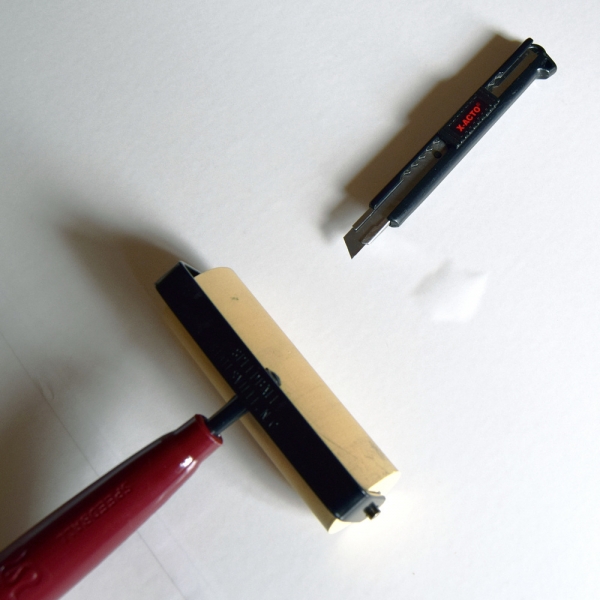
After carefully unrolling the adhesive onto the surface of the Claybord, I burnished it with a brayer and trimmed the excess around the edges. I punctured the air bubbles with an X-Acto knife and burnished the area until the air was gone.
Next I created a fold on the release liner to expose a 1" wide section of the tacky area of the mounting adhesive.
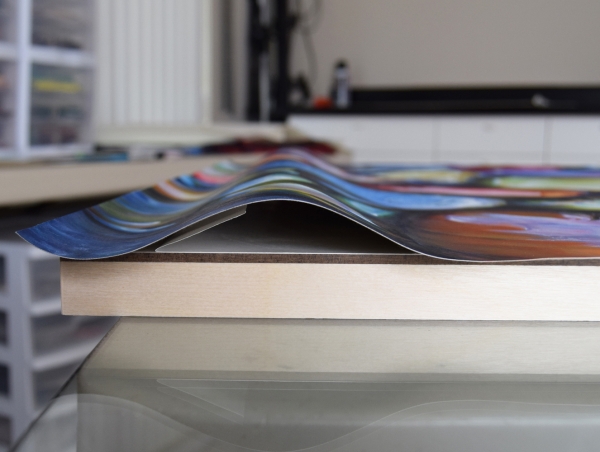
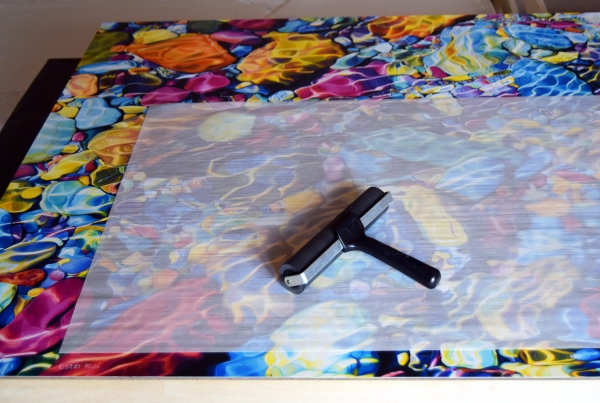
I positioned the canvas over the Claybord and, when perfectly centered, I pressed the canvas on the exposed 1" section of adhesive.
Then I slowly pulled away the release liner while unrolling the canvas over the adhesive. With a sheet of tracing paper covering the canvas, I gently rubbed the surface with a rag until all the release liner was pulled out. As I forgot to take a picture of this step, I'm using a reference from an older artwork.
I turned the board upside down on the mirror to trim the extra canvas with an X-Acto knife.

Trimming the extra canvas.
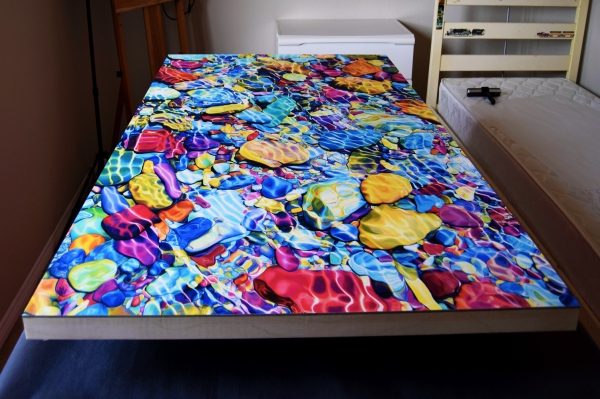
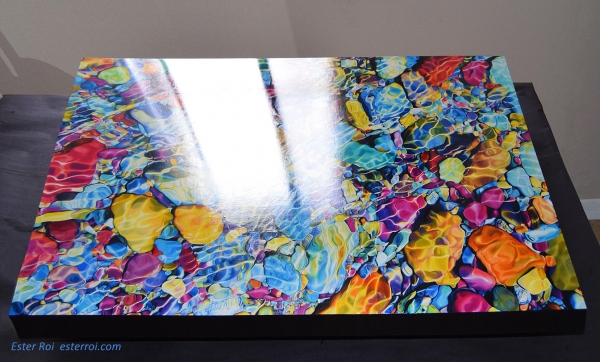
Here's the canvas mounted and trimmed.
I rolled a rubber brayer all over the surface protected by tracing paper.
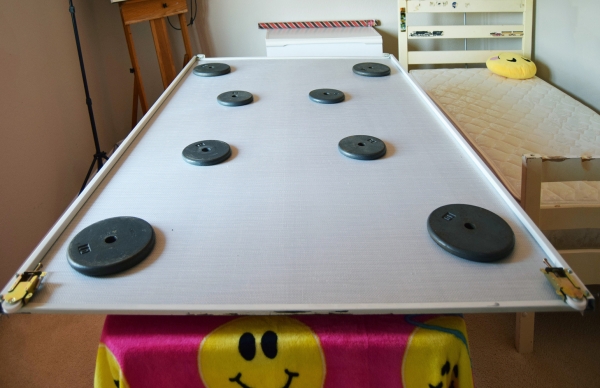
Then I placed the board under weights overnight. Heavy books will do especially with smaller pieces.
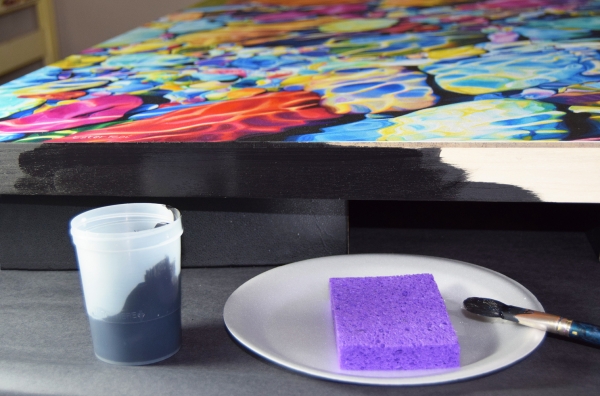
Finally I painted the sides of the cradled board with acrylic.
On my next post I will talk about the process of getting my artwork professionally photographed.
Step 1: before varnishing
Step 2: sealing the artwork
Step 3: mounting the artwork on a panel
Step 4: digital capture of the artwork
Step 5: applying the final varnish
Step 6: framing the artwork