I love working with sanded pastel paper. My favorite is Colourfix Coated Pastel Paper by Art Spectrum. It's a wonderfully versatile archival surface that "withstands all manner of artistic experimentation." One of these, and not the least in order of importance, is the application of heat.
In the examples below you can see how I develop a flower petal with Prismacolor Colored Pencils and Caran d'Ache Neocolor II Wax Crayons.
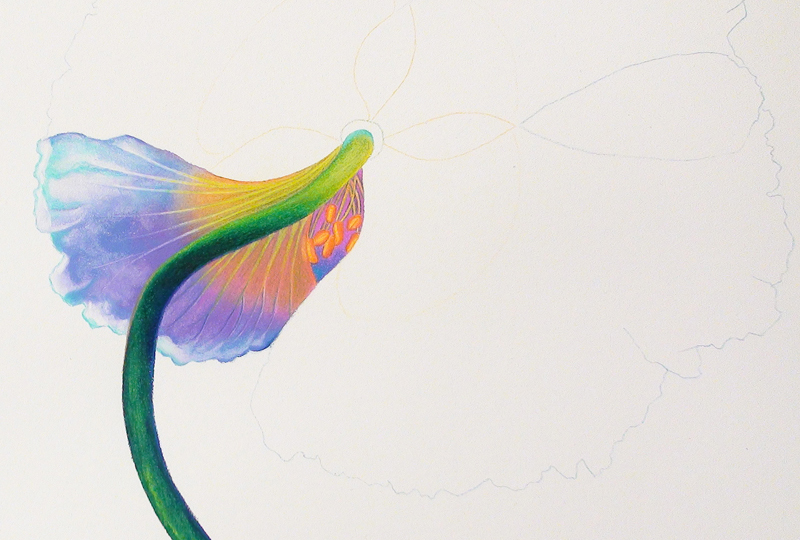

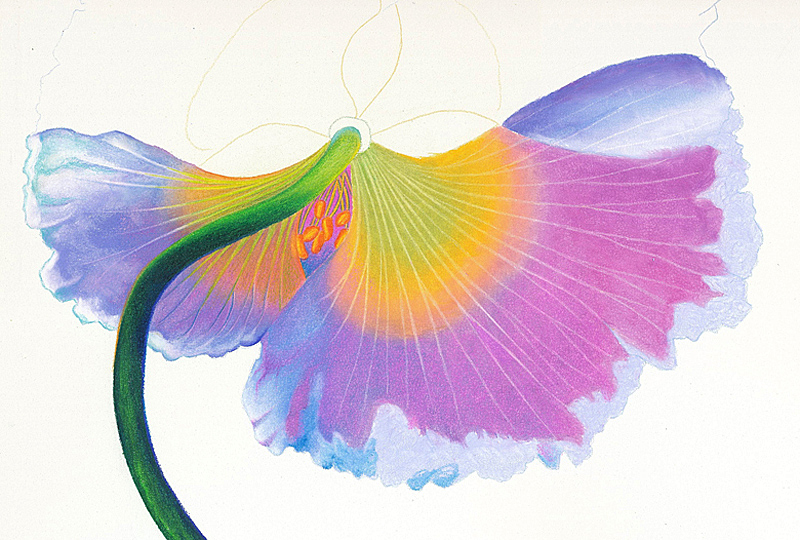
Step 1: After finishing the first petal, I'm getting ready to begin the second one.
Step 2: On the cool zone and with sharp Neocolors, I block in all the local colors of the petal. The tooth of the paper easily captures the waxy pigments.
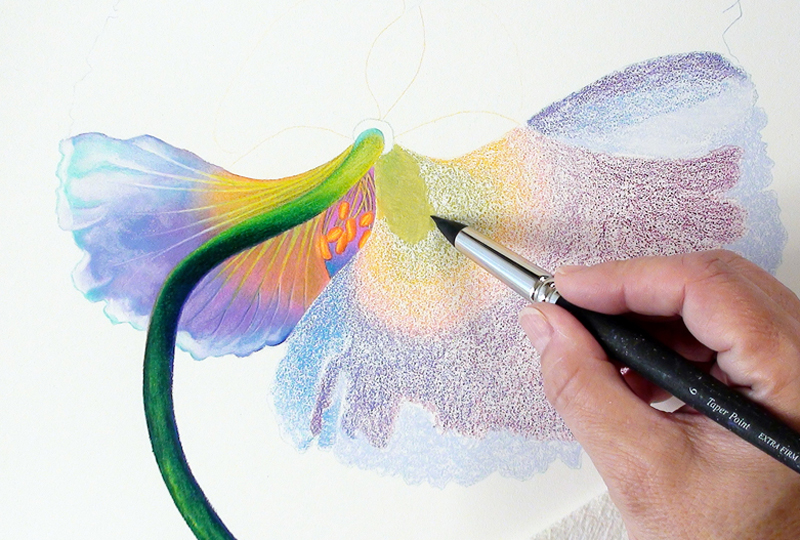
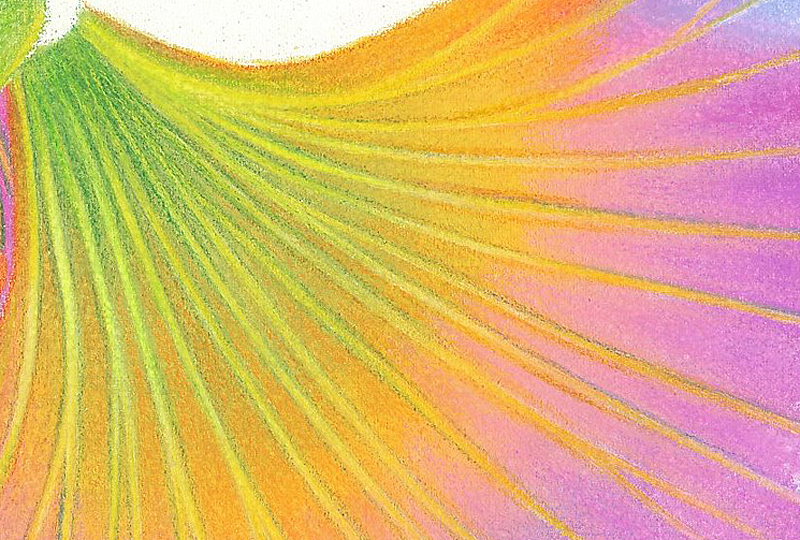
Step 3: After moving the paper to the warm zone, I begin melting the waxy pigments with a taper point color shaper. It's a simple process that can also be accomplished with a flat chisel color shaper (use the side of the tip for melting). This approach is much faster and gives you more control than adding water to Neocolor II. First of all there is no wait for the paper to dry - the melted pigments solidify as soon as the paper is removed from the heat - and the intensity and hue of the color do not diminish. Besides, it is so much fun I just can't get enough.
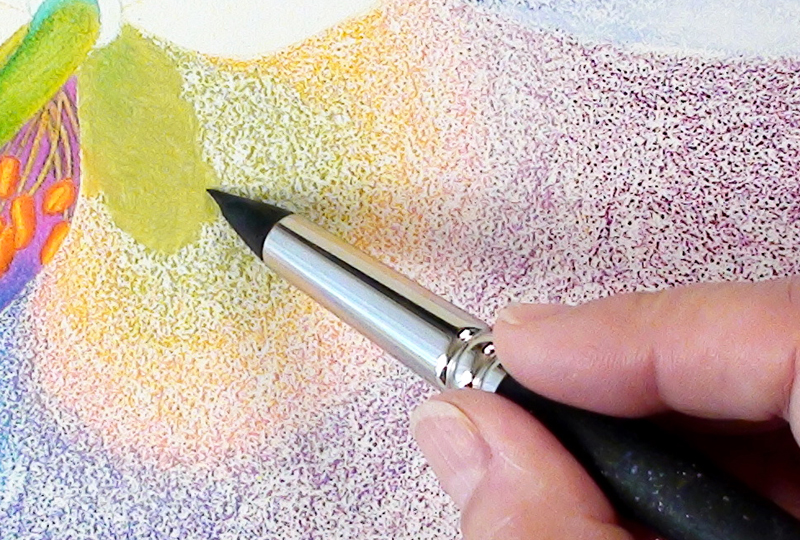
Step 4: The petal is now covered by a thin layer of melted pigments that I like to call "wax foundation."
Step 5: On the warm zone, with a sharp white Verithin I penetrate the previous layer and create fine ridges that will become the petal's veins.
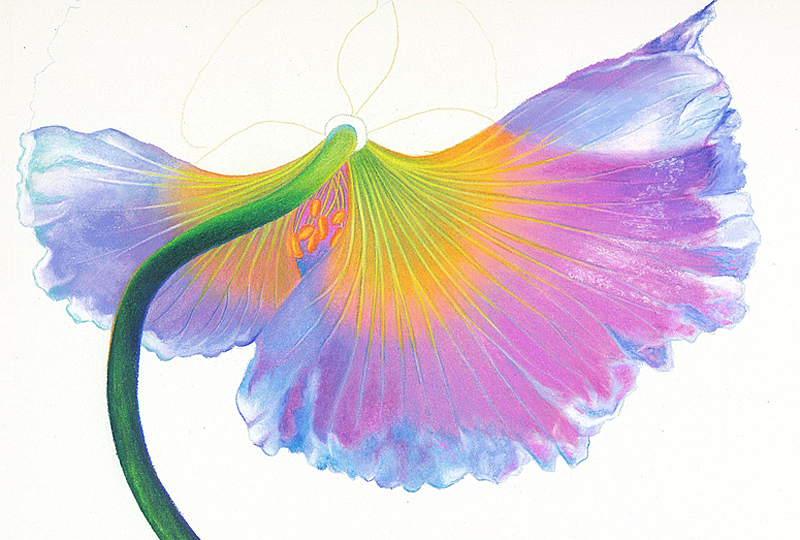
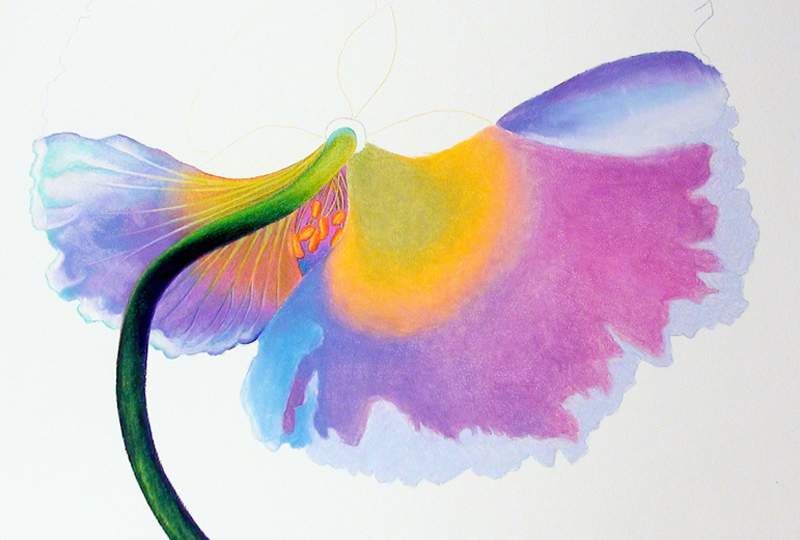
Step 6: Here I'm developing the colors and the details of the petals. The layering of colored pencils is accomplished with Prismacolor Premier using the side of the pencil point. On the warm zone the waxy pigments melt and blend in with the foundation; on the cool zone they will sit on top for optical mixing. Sharp Verithin pencils are used for details and fine lines.
14 comments
Terry Rempel-Mroz
May 23, 2010
I am always amazed at how beautiful the end result is, when the beginning is so plain and ordinary. I find that, for me, getting past the ‘plain’ stage is the most difficult, as I feel it will never look good. Thank you for showing us that the beginning is important to the final look, and that thoughtful careful work yeilds such wonderful results.
(Not to mention also that you are very very talented.)
Please keep posting these In Progress pieces - they inspire me to keep trying new things.
Ester Roi
May 23, 2010
Thank you, Terry, for your insightful comment. Learning to postpone gratification and to endure the “ugly phase” is a daily struggle for me.
Teresa Mallen
May 25, 2010
Wonderful description of your process and wonderful photos too!! What? Your work has an ugly phase? Impossible! :-)
Ester Roi
May 25, 2010
You’d better believe it, Teresa.
Hazen Folse
May 26, 2010
Love the new flowers. Thanks for sharing them. I am still learning something new with each piece I do. I’m so glad to be back with colored pencils and oil pastels, and constantly inspired by your updates.
Many Thanks.
Hazen Folse
Ester Roi
May 26, 2010
Thank you, Hazen. I learn something new with each piece too and I’m just glad to share what I learn.
Janet Grundas
May 26, 2010
I just received my new Icarus Board last week and am so excited about trying out the demo’s you are presenting. Thank you for the demo’s and tips along the way.
Ester Roi
May 26, 2010
You are welcome, Janet. I hope you have fun with it.
Jill
September 03, 2010
Thanks so much for this! I’ve always wondered how in the world I’d use my white pencil… besides on dark paper of course. Can you give more examples on using white colored pencils please?
PinaColada
March 01, 2014
Oh this is so stunning, I don’t have words to describe how beautiful I find this!
Can you explain how you melted the neocolours with the pointed colour shaper - how did you apply heat?
Ester Roi
March 02, 2014
Thank you, Pinacolada. You’re very kind!
I use a heated drawing board where I control the temperature. The Neocolors melt easily when the paper warms up and the colour shaper helps moving the pigment and blending it. Here you can find more information on the board:
http://icarusart.net/
PinaColada
March 02, 2014
Thank you for the quick reply! Looking forward to seeing what you come up with next! :)
Christine
March 25, 2014
Thank you for this message. I teach pastel painting and use sanded papers. I am ashamed to say that I never thought of using heat with the sanded paper and colored paper or encaustic paints.
Ester Roi
March 26, 2014
Christine, nothing to be ashamed about it! I’m glad this helped you to consider a new application. Best wishes!