How to Mount Paper on Board

Mounting paper on board using Grafix Double Tack Mounting Film can be challenging at first. This mounting film is permanent and accidents can happen, especially if one doesn't practice ahead.

I've being using this method for years and I'm quite comfortable with it. It takes me about 10 or 15 minutes to mount a piece, depending on the size.

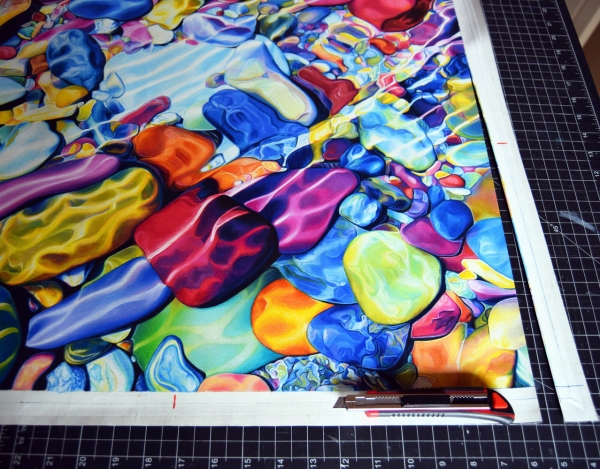
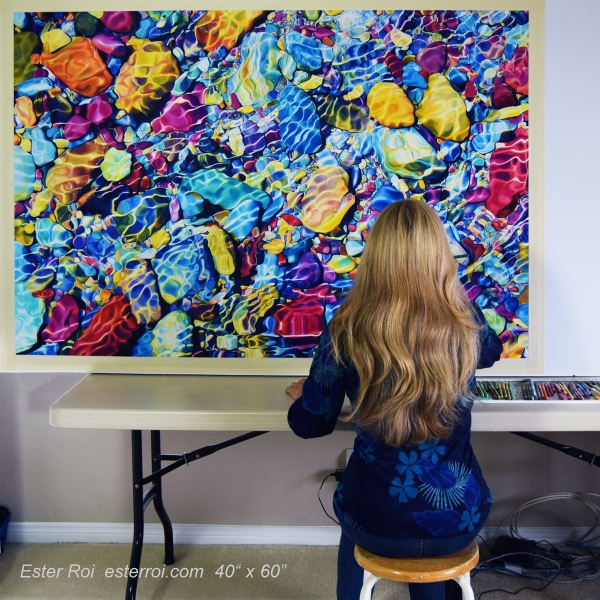
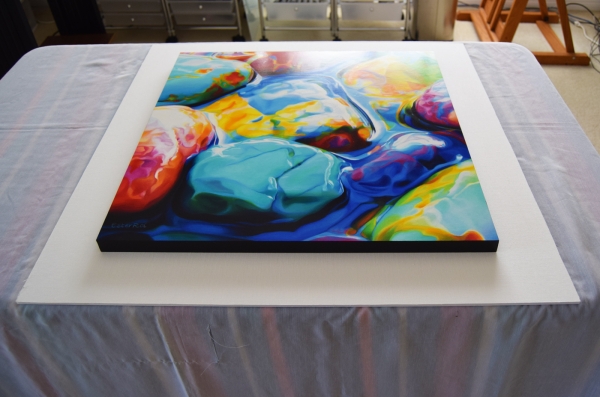
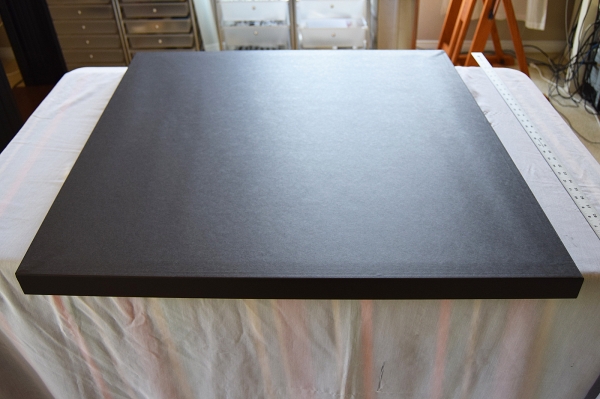
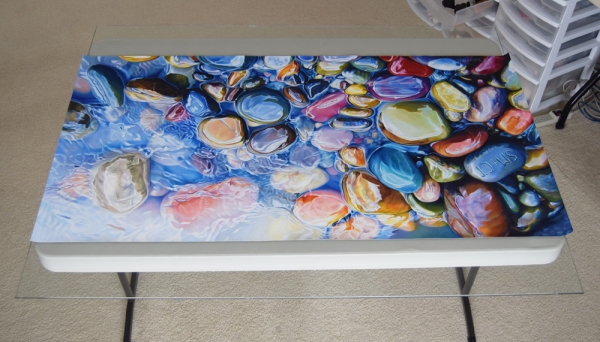
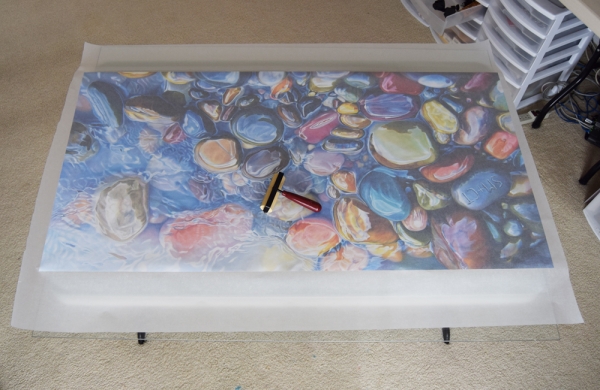
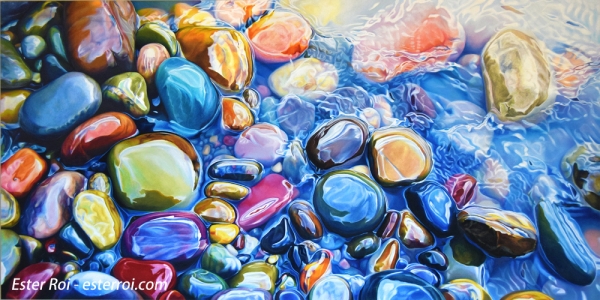
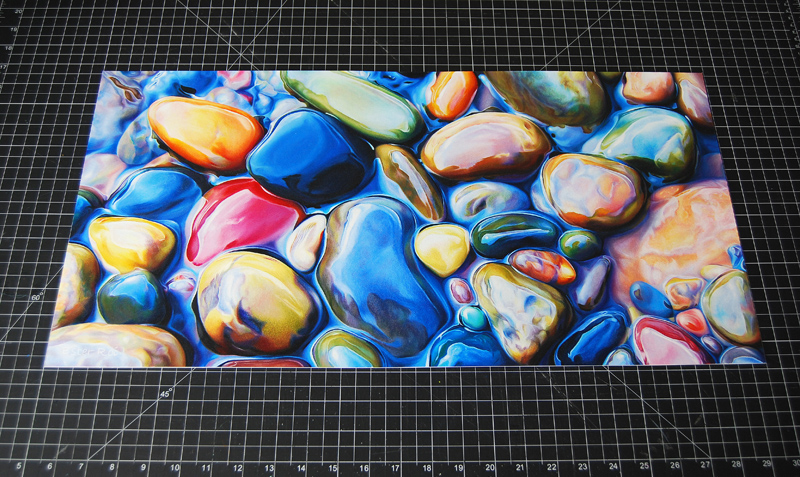
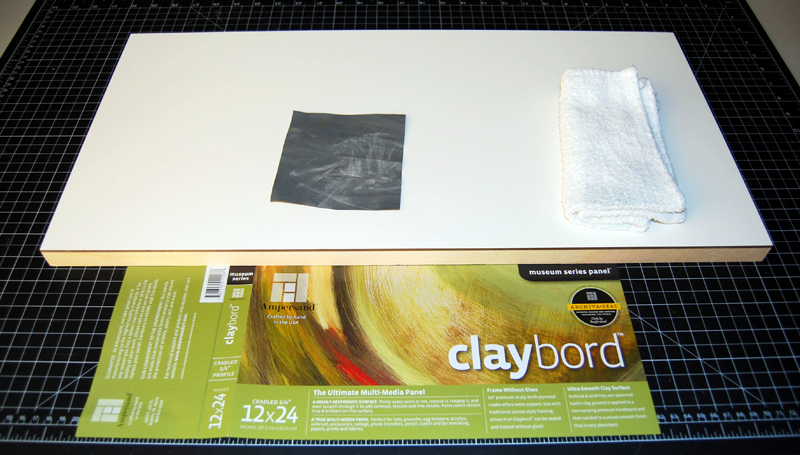
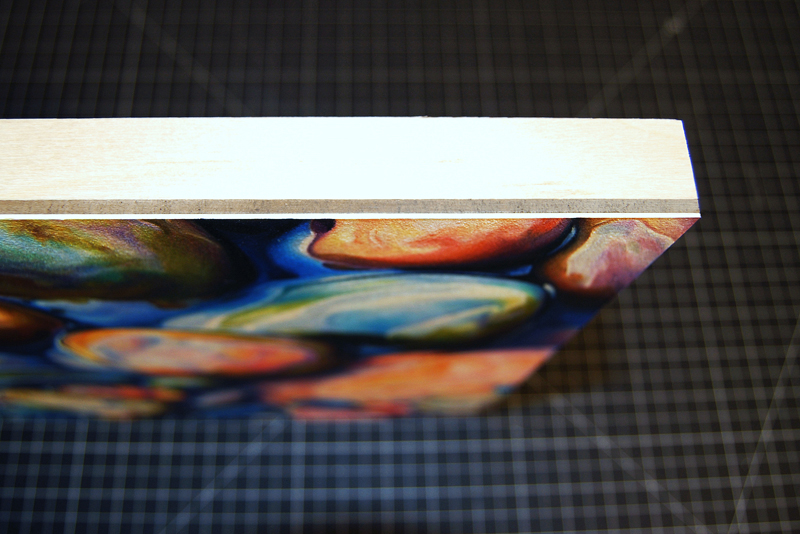
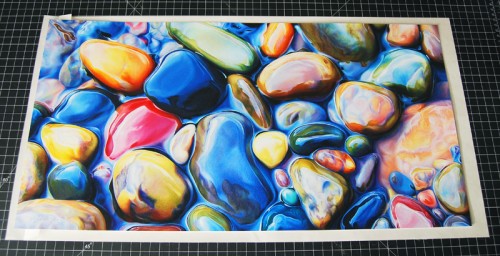
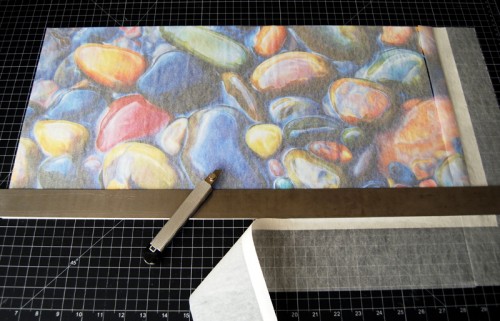
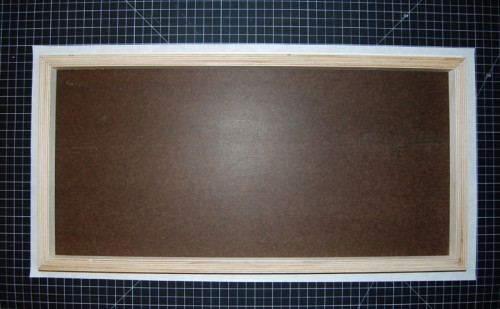
Above is my finished artwork "In Between" which I will mount on a 12" x 24" x 3/4" thick Ampersand Claybord. At this point my piece measures 12.5" x 24.5", half an inch larger than the board, to account for possible misalignment during mounting. I've already trimmed the white paper edge that I normally leave around the drawing.

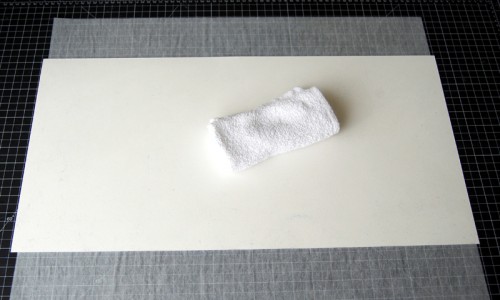
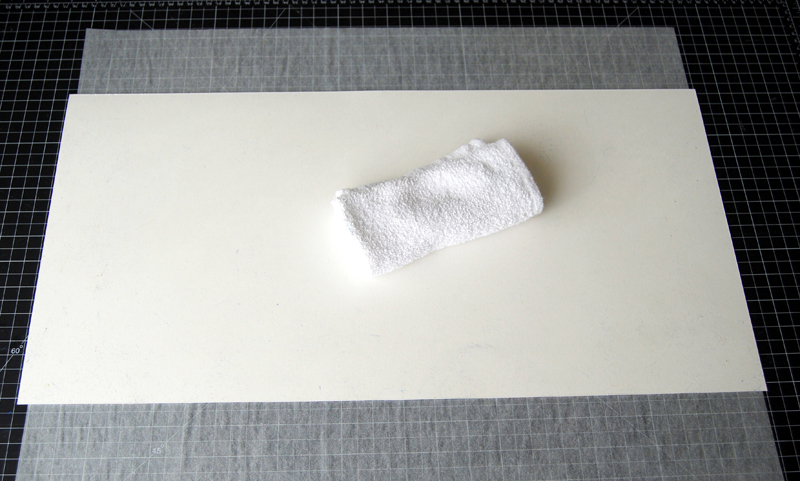
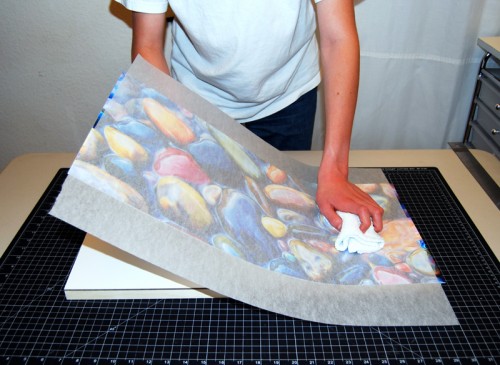
This is the back of my artwork which I wiped with a clean cotton rag to make sure there are no pencil debris left on the paper. I always use tracing paper to protect my piece from the cutting board.

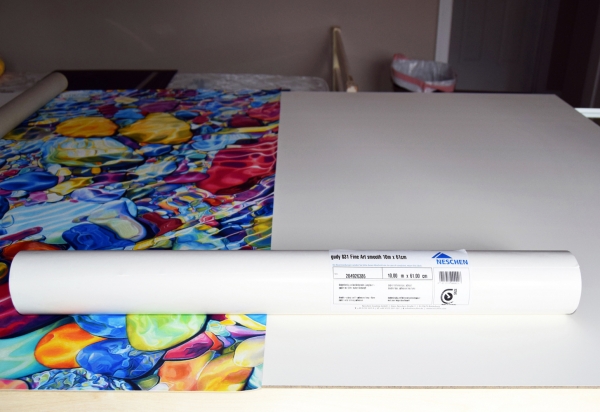
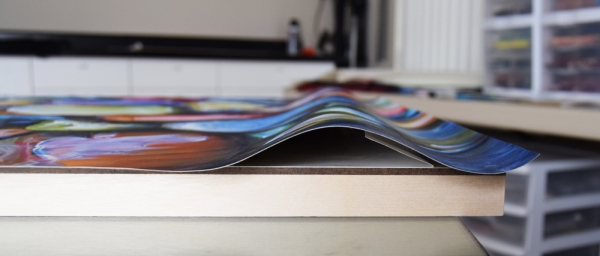
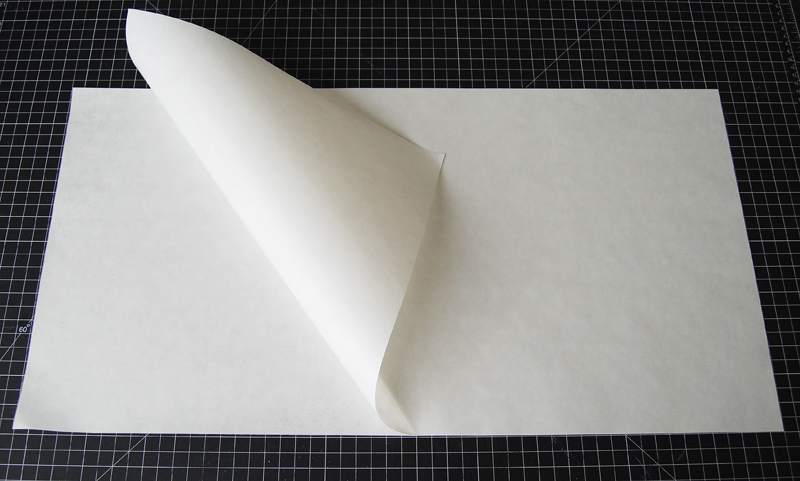
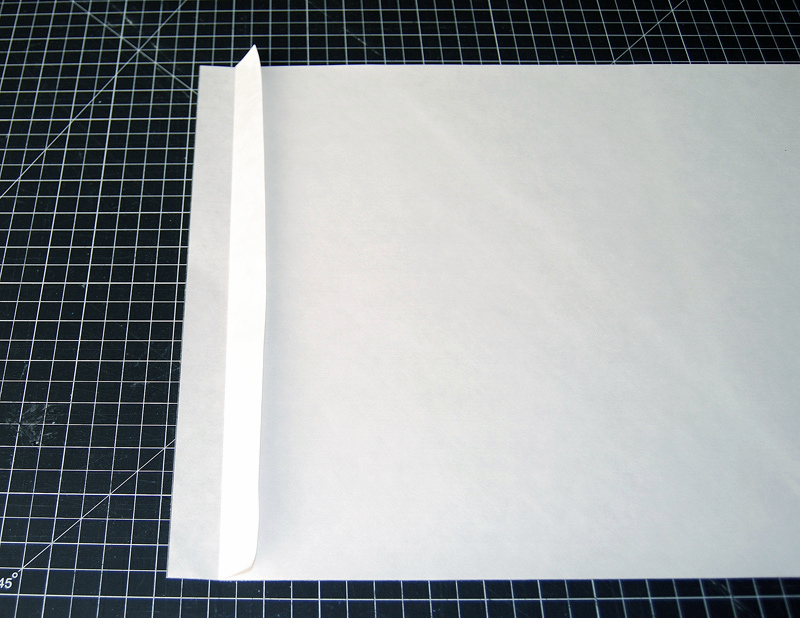
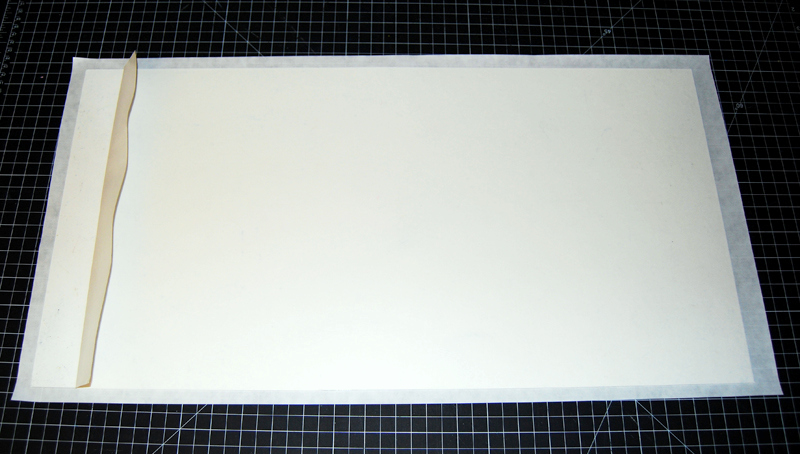
Grafix Double Tack Mounting Film is acid free and archival. It has a coat of permanent adhesive on both sides of a thin film, sandwiched between two heavy release papers.

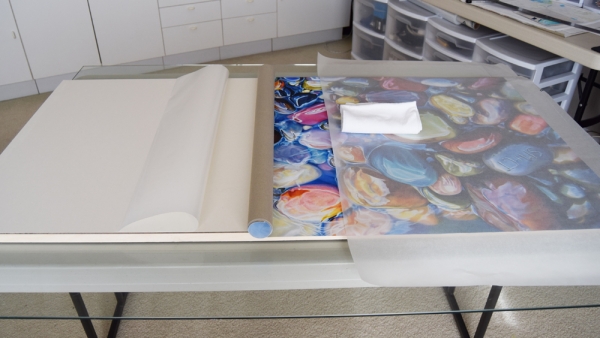
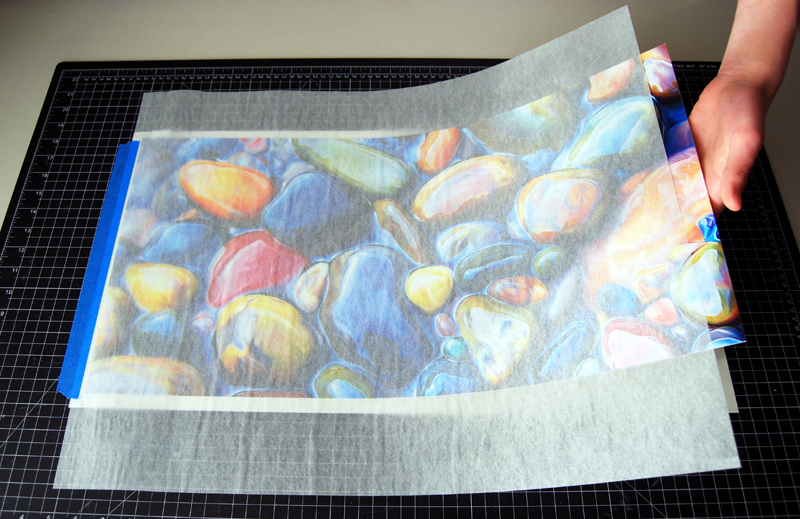
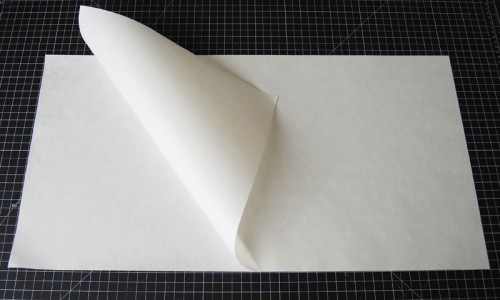
The image above shows the double tack mounting film which is cut a bit larger than the original artwork. I'm lifting the top release paper to expose part of the tacky area; this will be a section about an inch wide. It's always better to release more paper than necessary and then let it fall back into place up to the area that will need to be exposed.

Here I folded the top release paper back, exposing only an inch of the tacky film.

After placing my artwork over the double tack mounting sheet, I made sure it was centered inside the perimeter. At this point the artwork can still be moved because it's not making contact with the tacky film.

A close-up of the artwork positioned over the fold.

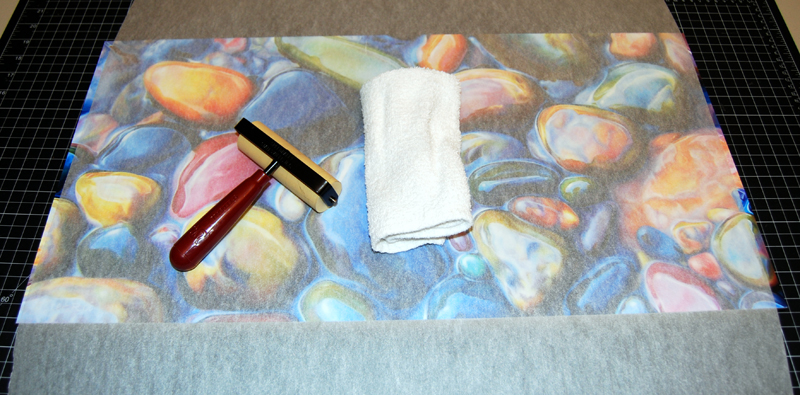
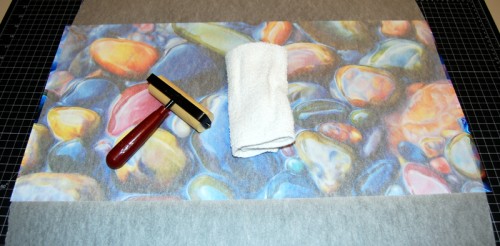
With a protective sheet of tracing paper over the artwork, I pressed down on the left side to make contact with the exposed tacky sheet. I then secured it onto the cutting board with tape.

Afterwards I lifted the right side of the artwork and slowly began pulling the release paper from underneath. At the same time, with my other hand, I rubbed the surface with a rag, moving back and forth from one side to the other, until all the release paper is out.

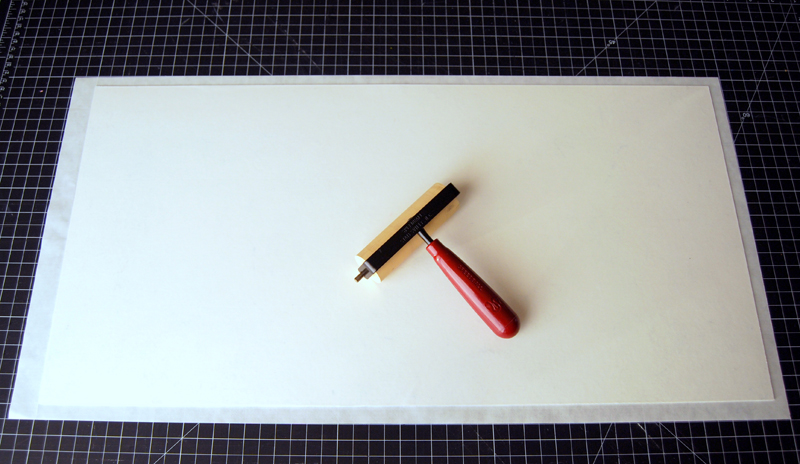
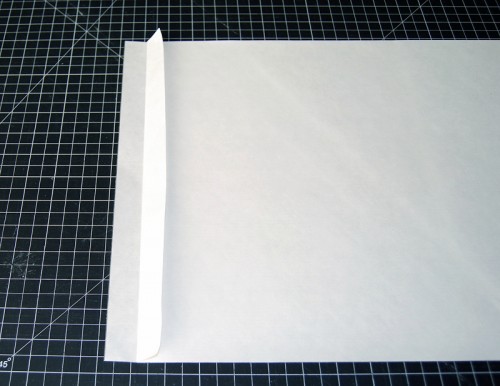
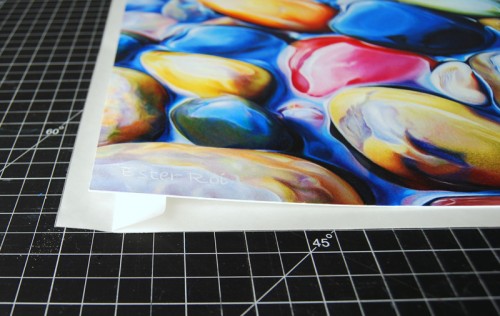
At this point I trimmed the edges of the double tack sheet (and tracing paper) with a sharp X-Acto knife.

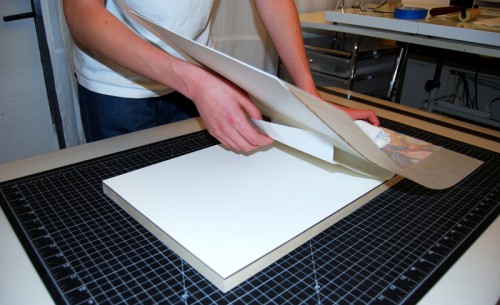
I turned over the artwork and placed it face down on the cutting board, using the waxy release paper I just pulled from the tacky sheet as a protection layer. Then I rolled a rubber brayer all over the surface to reinforce the adhesion.

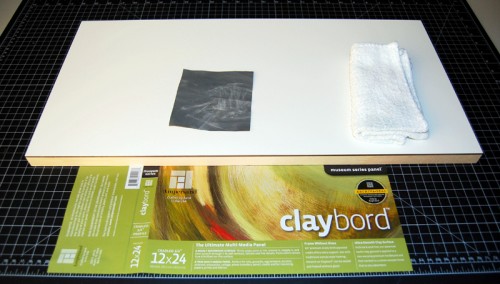
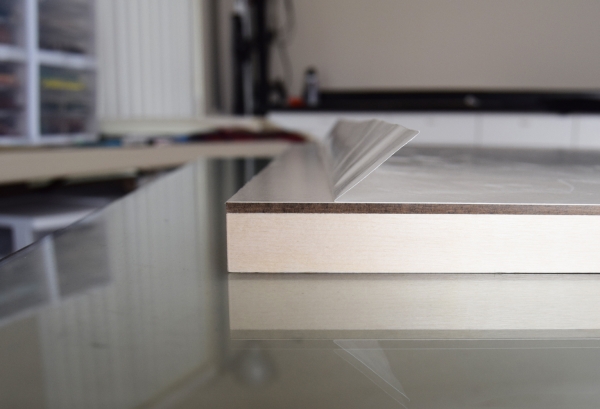
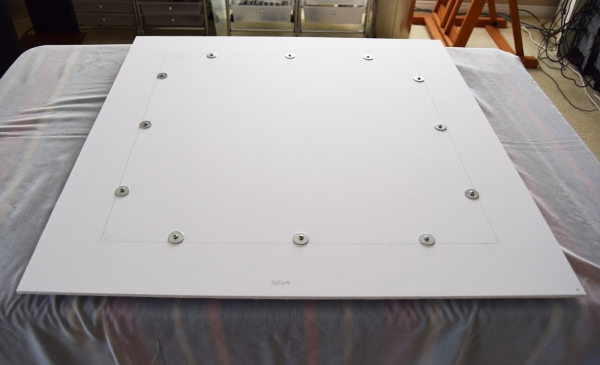
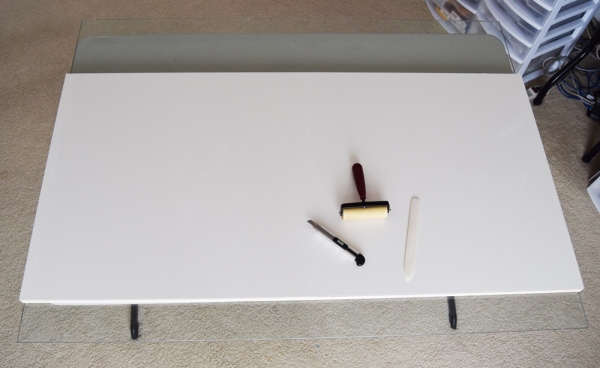
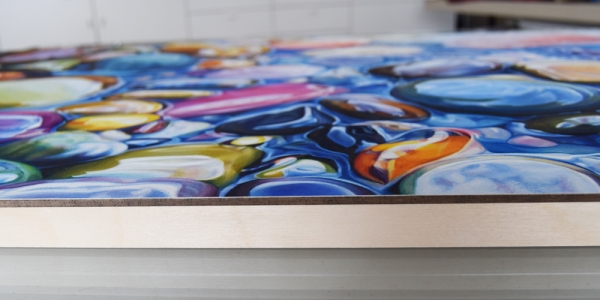
Here's my 12" x 24" Ampersand Claybord. I cleaned the surface with a rag and lightly sanded the sides with extra-fine sandpaper.

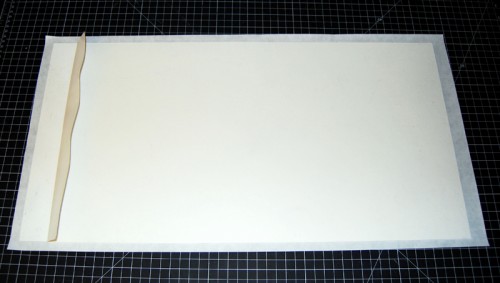
To pull out the other release paper from the back of the artwork I used the same method as before, exposing a 1.5" area of the tacky sheet.

Then I placed the Claybord over the mounting sheet and centered it. Again, I can still re-position it at this point because the board is not making contact with the tacky film.

Once the board is perfectly centered over my artwork, I pressed down on the left side to make contact with the exposed tacking sheet.

After placing a sheet of tracing paper over the artwork,  I lifted the right side and slowly began pulling the release paper from underneath. At the same time, with my other hand, I rubbed the surface with a rag, moving back and forth from one side to the other, until all the release paper is out.

Here you can see it from the opposite side.

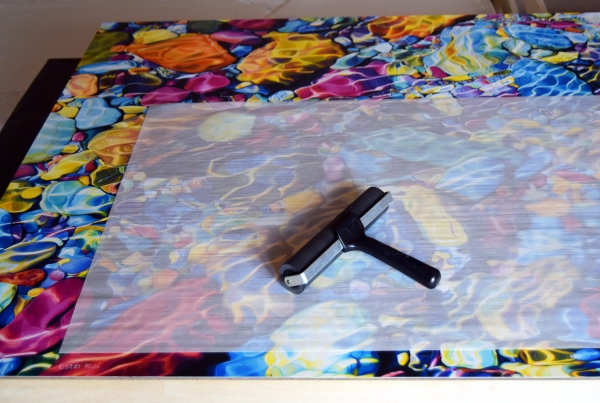
Once the artwork is mounted onto the board, I pressed down first with a rag and then with a rubber brayer.

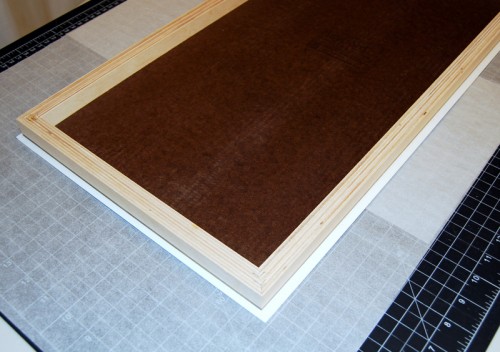
I turned the Claybord over.

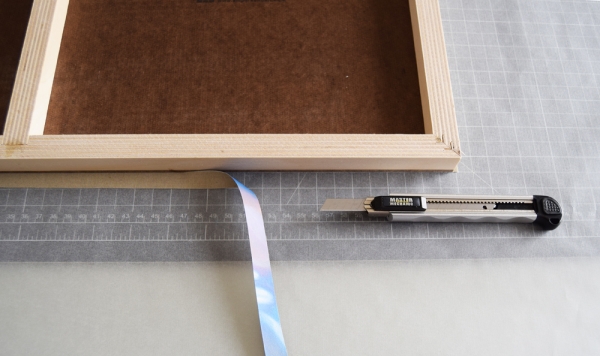
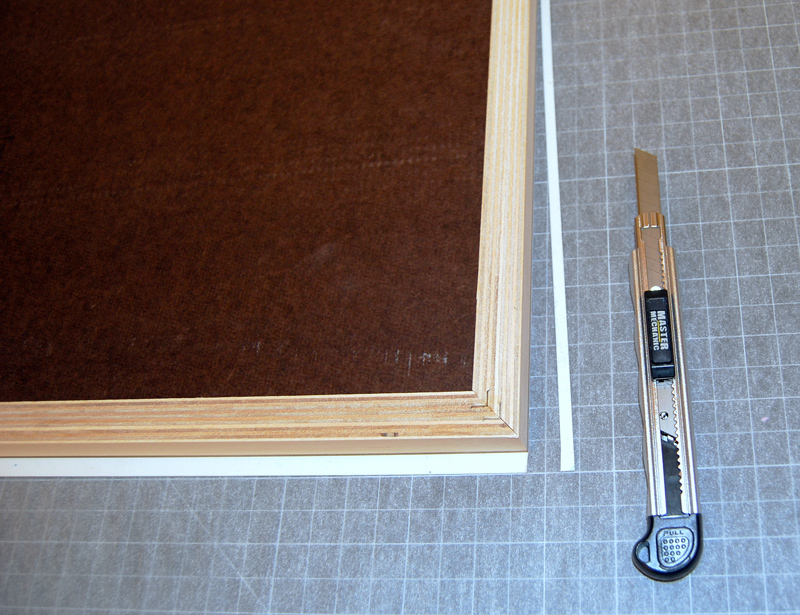
I trimmed the extra with an X-Acto knife.

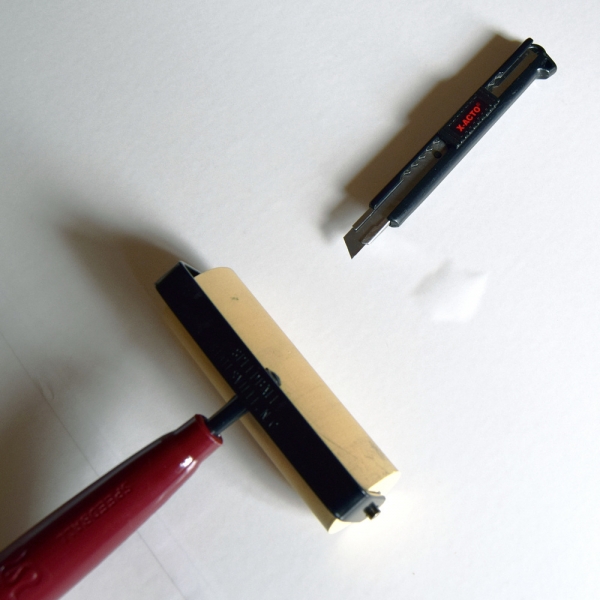
To achieve perfect cuts I used a fresh blade for each side of the artwork.

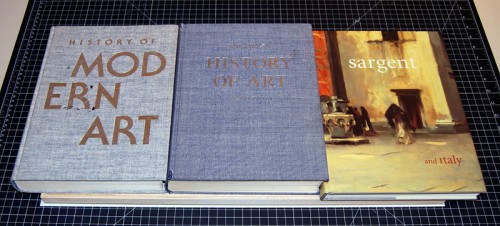
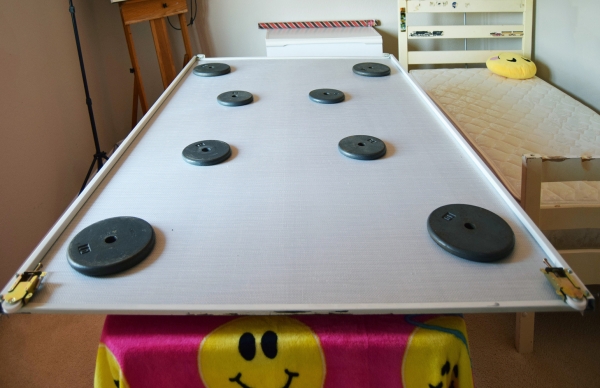
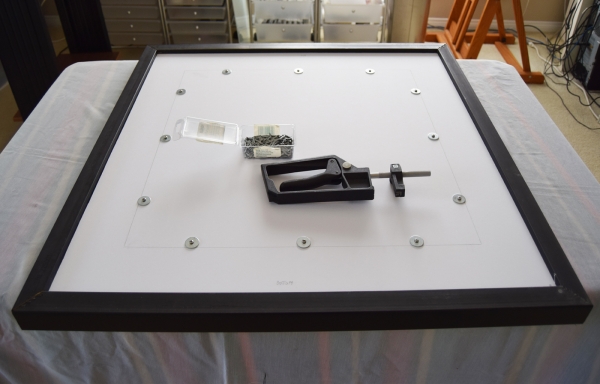
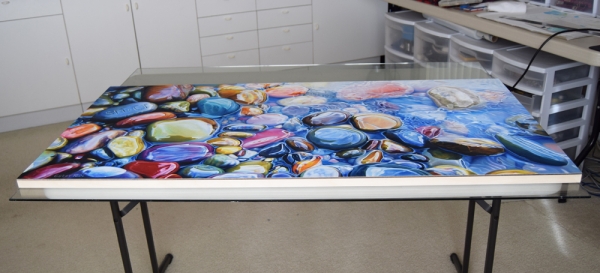
Finally I placed the board under heavy books overnight.

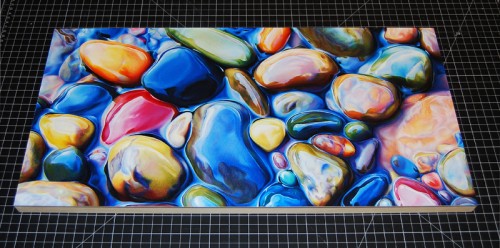
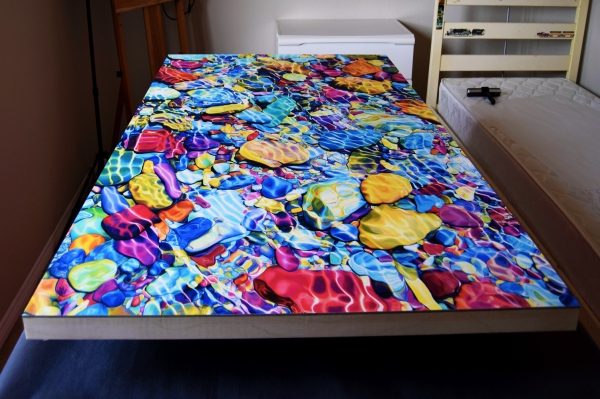
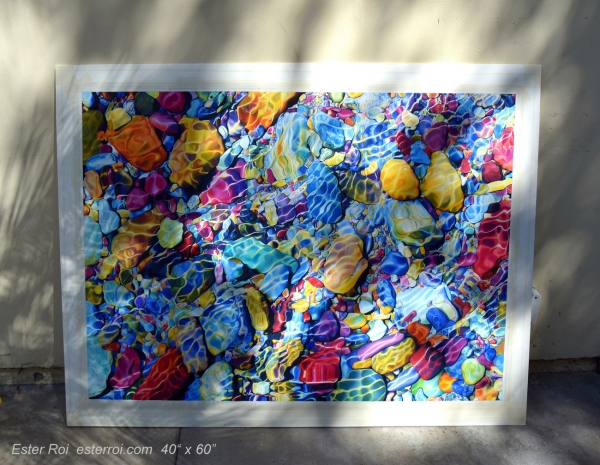
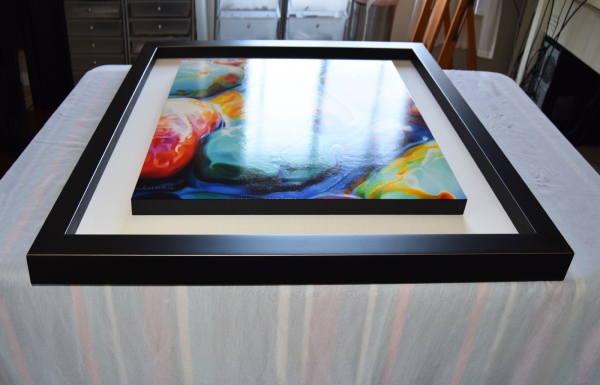
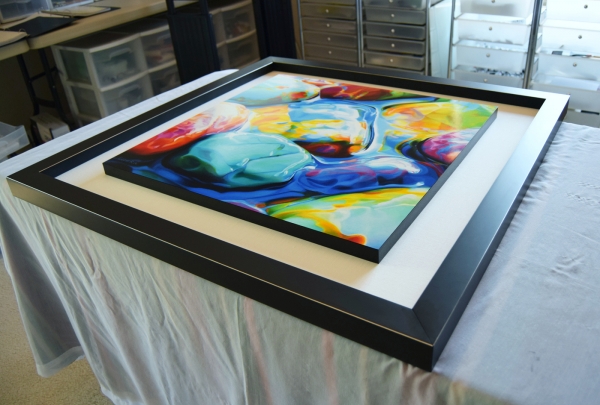
My artwork is now ready for varnishing and framing.

This method works well for mounting paper on board, however it doesn't work for canvas - see Canvas and the Icarus board.

This post is an extension of my previous one on Glassless Framing.

Questions and comments are always welcomed and cherished.

Thank you for visiting!

"Symbiosis"

Below are the steps I followed to mount my artwork on canvas and varnish it.

Trimming the canvas

Trimmed canvas

Left - after spraying the canvas with 5 coats of Prismacolor Final Fixative Gloss, and letting it cure overnight, I trimmed away the white boarder.

Right - the canvas is now trimmed and ready for mounting.

Mounting tools

Pressing with a brayer

Left - for mounting I used Frank's PH Fabric Adhesive (purchased from my framer) and a foam roller. I apply this type of adhesive only to canvas or fabric in general. When mounting paper I prefer to use Grafix Double Tack Mounting Film (for more on this subject please visit my post on Glassless Framing).

Right - after mounting the canvas on my Ampersand Claybord with 3/4" cradle, I rolled a brayer all over the surface, paying particular attention to corners and edges.

Under books overnight

Trimming the edges

Left - I then placed the canvas-mounted board upside down under heavy books overnight.

Right - in the morning I carefully trimmed the canvas around the edges of the board. I had originally extended the drawing a quarter inch all around to account for possible misalignment during mounting.

Left-over stubble

Cleaned-up edges

Left - as you can see some stubble was left over after trimming.

Right - I cleaned up the fuzz with a fine grade sandpaper.

Painting the sides

Painted sides

Left - I finally began to paint the sides of the cradled board with acrylic. I applied three coats.

Right - the sides are all painted.

Varnishing tools

Raised board

Left - here's everything I used for varnishing: Golden Polymer Varnish with UVLS Gloss, a container for mixing the varnish, a small measuring cup, a wide brush for the top surface, and a smaller brush for the sides. I mixed one part water to two parts varnish.

Right - after elevating the board from the table I began varnishing the top.

Wet varnish

Varnishing the sides

Left - notice how the first coat of varnish looks while still wet. I painted four coats, waiting three hours in between.

Right - I used the small brush to spread the varnish drips all over the sides. I like the sides to be as glossy as the top surface.

Varnished and framed

Close-up

Left - after curing for a week, the panel was finally framed without glass.

Right - Here you can see a close-up of the frame and panel.

CONCLUSIONS:

Why did I do all this? Well, I wanted to experiment with canvas and the Icarus board. I clearly could not have used stretched canvas and did not want to use 1/8" canvas panels. These panels are a good option for artists who work with the Icarus board. However I like my art to be mounted on panels with at least 3/4" cradle so I needed to use canvas by the yard.

The best discovery I made during this experiment is to apply one coat of Art Spectrum Colourfix Clear Primer on the acrylic painted canvas. This establishes an amazing ground for any type of drawing medium so that it can strongly adhere to the canvas. Colourfix primer can be applied directly to the canvas without an acrylic underpainting, if one chooses to do so. (edited 10/9/11)

Perhaps in the future I will experiment with artist crayons and oil pastels on canvas and the Icarus board. These mediums lend themselves to larger and looser applications.

I'm very happy with my finished artwork. Coming from an oil paint background I can tell you that it looks better than any of my old oil paintings. These were never varnished (who wants to wait six months?) and appear blotchy and uneven.

To read the two previous posts on "Canvas and the Icarus Board", please click on the following links:

Canvas and the Icarus Board
Canvas and the Icarus Board: Part 2

If you are interested in how I mount and frame my artwork on paper without glass, please click on this link:

Glassless Framing

Thank you for reading my blog! Feel free to comment or ask questions.

Glassless Framing

Many artists have asked me how I frame my artwork on paper without glass so I decided to write a post about the process I follow.

1. FIXATIVE

I gently remove any wax bloom with a soft cloth. Edit (3/31/11): if I'm dealing with a lot of wax bloom, I blow some warm air over the affected area with a hair dryer or heat gun. The wax bloom disappears right before my eyes.

Then I take my piece outside and spray it with 5 coats of  Prismacolor Final Fixative - Gloss, waiting 15 minutes between coats. Edit (11/29/12): In place of fixative I now use Golden Archival MSA Spray Varnish - Gloss. After it's dry I run a white cotton handkerchief over its surface. If there is no color residue left on the handkerchief my artwork is ready for varnish, otherwise I spray more fixative. It's important to create a solid barrier between the pigments and the varnish. I let the fixative dry overnight.

2. MOUNTING

I mount my large pieces on Ampersand  Claybord with 3/4" cradle, the smaller ones on Claybord with 2" cradle. There are also 1/8" flat panels available. I like the Claybord panels because their surface is completely archival, lightfast and acid free. After dislodging any debris from the back of my artwork, I trim the extra white paper around it.

My artwork at this point should be a bit larger than the panel - to account for possible misalignment during mounting. I carefully mount it on a sheet of  Grafix Double Tack Mounting Film which I then mount on the panel. After turning the panel upside down, I trim the edges and put it under heavy books overnight. Please practice mounting before you do it with a valuable  piece of art.

More on this on the following post: How to Mount Paper on Board. Update (2/26/2013)

3. VARNISHING

I usually paint the edges of the cradled panel in acrylic and then begin varnishing with Golden Polymer Varnish with UVLS (Ultra Violet Light Stabilizers) - Gloss. This is a waterborne acrylic polymer varnish that dries to a protective, flexible, dust-resistant surface. It needs to be thinned with water, 2-3 part varnish to 1 part water. I apply at least 3 coats with a soft, wide brush and wait 3 hours between coats. The varnish cures completely in one week. You can then frame your panel or hang it without a frame.

This process, especially at the beginning, is a little time consuming but certainly worth the effort. I just love that my art can be exhibited along with the best oil and acrylic paintings and still generates the most curiosity. "I can't believe it's colored pencil" has become the standard reaction followed by numerous questions on my technique and presentation.

Into the Light

Above and Below

The Butterfly Effect

If you you are interested in how I mount and frame my artwork on canvas without glass, please visit the following posts:

Canvas and the Icarus Board
Canvas and the Icarus Board: Part 2
Canvas and the Icarus Board: Final Post