Many artists have asked me how I frame my artwork on paper without glass so I decided to write a post about the process I follow.
1. FIXATIVE
I gently remove any wax bloom with a soft cloth. Edit (3/31/11): if I'm dealing with a lot of wax bloom, I blow some warm air over the affected area with a hair dryer or heat gun. The wax bloom disappears right before my eyes.
Then I take my piece outside and spray it with 5 coats of Prismacolor Final Fixative - Gloss, waiting 15 minutes between coats. Edit (11/29/12): In place of fixative I now use Golden Archival MSA Spray Varnish - Gloss. After it's dry I run a white cotton handkerchief over its surface. If there is no color residue left on the handkerchief my artwork is ready for varnish, otherwise I spray more fixative. It's important to create a solid barrier between the pigments and the varnish. I let the fixative dry overnight.
2. MOUNTING
I mount my large pieces on Ampersand Claybord with 3/4" cradle, the smaller ones on Claybord with 2" cradle. There are also 1/8" flat panels available. I like the Claybord panels because their surface is completely archival, lightfast and acid free. After dislodging any debris from the back of my artwork, I trim the extra white paper around it.
My artwork at this point should be a bit larger than the panel - to account for possible misalignment during mounting. I carefully mount it on a sheet of Grafix Double Tack Mounting Film which I then mount on the panel. After turning the panel upside down, I trim the edges and put it under heavy books overnight. Please practice mounting before you do it with a valuable piece of art.
More on this on the following post: How to Mount Paper on Board. Update (2/26/2013)
3. VARNISHING
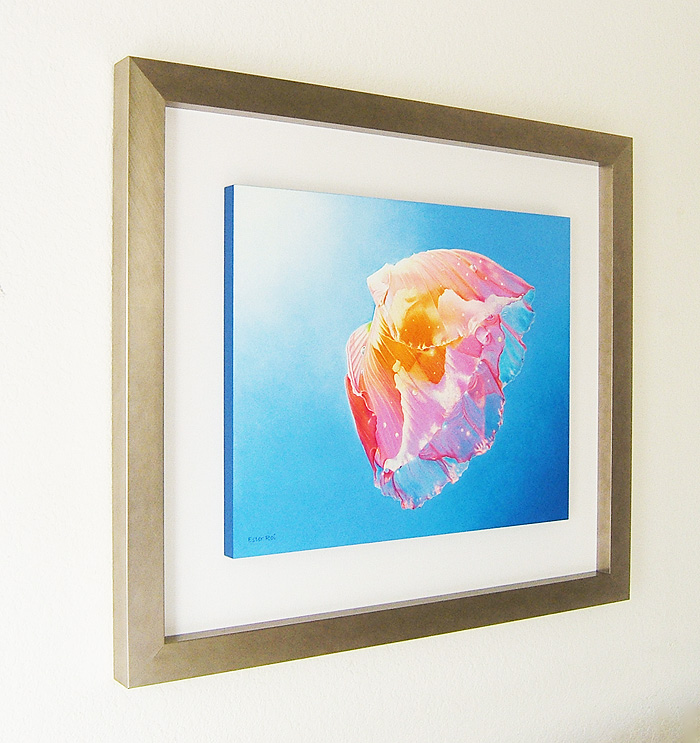
I usually paint the edges of the cradled panel in acrylic and then begin varnishing with Golden Polymer Varnish with UVLS (Ultra Violet Light Stabilizers) - Gloss. This is a waterborne acrylic polymer varnish that dries to a protective, flexible, dust-resistant surface. It needs to be thinned with water, 2-3 part varnish to 1 part water. I apply at least 3 coats with a soft, wide brush and wait 3 hours between coats. The varnish cures completely in one week. You can then frame your panel or hang it without a frame.
This process, especially at the beginning, is a little time consuming but certainly worth the effort. I just love that my art can be exhibited along with the best oil and acrylic paintings and still generates the most curiosity. "I can't believe it's colored pencil" has become the standard reaction followed by numerous questions on my technique and presentation.

If you you are interested in how I mount and frame my artwork on canvas without glass, please visit the following posts:
Canvas and the Icarus Board
Canvas and the Icarus Board: Part 2
Canvas and the Icarus Board: Final Post
16 comments
Terry Rempel-Mroz
April 04, 2010
Thanks for the info, Ester. It sounds like a very good technique - I will definitely try it !
Theresa
April 04, 2010
Thanks for such a fascinating tutorial. Have you tried this technique with oil pastels too? I was wondering if that might work just as well once the pigments had been sealed?
I love your work!
Theresa
Ester Roi
April 04, 2010
Thank you, Theresa. Yes, I use the same technique with my oil pastel/colored pencil pieces like “Above and Below”.
deb mason
April 04, 2010
The water lily I painted on Wallis pastel paper that was in the roll. (You had it posted at one time) I framed it behind glass and it has since rippled. I am thinking of removing it and taking it to the framer to have them vacuum press it on foam board. I am thinking I will do your technique first to preserve it! Thank you for the excellent info.
Ester Roi
April 04, 2010
I’m sorry to hear that, Deb. I know the piece well and it’s still on the Icarus Gallery. I’m glad I could help.
Hazen Folse
April 05, 2010
I am just about to mount, then varnish my first 3 endeavors with the Icarus board, oil pastels and wax crayons and pencils. I painted 3 up-close flowers on 6” squares. I will send photos when they are mounted and varnished, and would appreciate any suggestions or comments. Thank you so much for this wonderful invention. I’m having a great time learning what works well and what doesn’t. So many possibilities.
Hazen Folse
Ester Roi
April 05, 2010
Hi Hazen, I’m looking forward to seeing your pieces.
Theresa
April 05, 2010
Thanks Ester. I’m definitely going to give this a try on a small piece.
I had wondered if it was possible to do this but thought the fixatives might dull or even smear the pastels. Looking at your vibrant work, I can see that this is definitely not the case! :-)
Ester Roi
April 05, 2010
Theresa, the fixative doesn’t smear my oil pastels at all but I don’t apply them in a very thick impasto. It slightly affects the colors but it certainly doesn’t dull them, if anything it intensifies them a bit. There are artists who use Sennelier Fixative and Golden Spray Varnish. You can find more info on this technique on the Oil Pastel Society website.
Debbi Friedman
April 17, 2010
Thanks for sharing your process Ester. It does sound labor intensive, but as you said, it must get easier and quicker with time. I’ll have to look closer next time I get the chance to see one of your beautiful pieces.
Tweets that mention Glassless Framing | Ester Roi
May 11, 2010
[...] This post was mentioned on Twitter by Ampersand Art Supply. Ampersand Art Supply said: Want to frame without glass? Artist Ester Roi shares her materials and techniques: http://esterroi.com/blog/2010/04/glassless-framing/ [...]
BARBRA KIRBY
June 01, 2010
I do not believe I have seen this depicted that way before. You actually have clarified this for me. Thanks!
Kerri
December 13, 2014
Hi Esther,
Forgive my ignorance, in step 3 are you varnishing just the edges? Or the surface of your artwork with the polymer varnish as well. Just want tobe sure that I’ve properly digested all the details :)
Thanks!
Ester Roi
December 13, 2014
Nothing to forgive, Kerry, it’s not clear! I varnish edges and surface both. I’m trying to edit the post but it won’t let me, grrr!
Lana McHugh
February 09, 2017
Hello Ester, Thank you for all the great info you have on your blog! I have a question about the varnishing process, you had originally stated in this post that you sprayed with 5 coats of Prismacolor final fixative, that was edited to say you spray with the Golden Archival MSA Spray Varnish - Gloss. Since you changed to a spray varnish instead of fixative do you still varnish with the brush on Golden Polymer Varnish with UVLS (Ultra Violet Light Stabilizers) - Gloss?
Thanks again, I love the Icarus board and have been experimenting a lot with it!
Lana
Ester Roi
February 09, 2017
Hi Lana, I’ve been using the Golden Archival MSA Spray Varnish as a fixative; it’s stronger than other fixatives and contains ultraviolet light filters and stabilizers.
http://www.dickblick.com/products/golden-archival-spray-varnish/
Yes, I still varnish with Golden Polymer Varnish afterwards with a brush. It’s very protective and creates an amazing finish. :)